For our upcoming event “BusinessObjects Arbeitskreis” or simply BOAK (www.boak.ch) we are providing hands-on sessions to participants. We’ve used Cloudshare as a platform for multiple years now to provide every participant with its own virtual machine environment. This year we have the chance to use the Training module of the Cloudshare platform. This modules simplifies the setup of user environments massively and gives us – the instructors – better capabilities to assist our participants. In this article I quickly walk you through how you can setup a virtual training classroom in Cloudshare:
Create a new class
Open the Training module in the web interface of Cloudshare and choose “Create a New Class”. Give it a name and choose which blueprint and snapshot of your VM environment you want to use for the class.

In addition, choose an environment policy. The policy controls how long an environment can be used and after which idle time an environment is suspended. Here you see an example of an environment policy:

Next, you have to choose a time for your class to start. Important: This starting time is used by Cloudshare to prepare all the necessary VM environments in the background so that your students don’t have to wait once they log in:

Finally specify a passphrase and a maximum number of students. You can also allow non-registered users to join – an option we are grateful for during BOAK.

Manage students & run the class
After having created the class, you can register students and eventually send out an invitation email to them.

What students need to join a class is only the Student Login Link as well as the passphrase:

If you allow unregistered users to join the class, you can force them to provide some details like name and company:

Once you are logged in, the student’s personal environment is already up and running – just clik “Start Using This Environment”:

Click on “View VM”

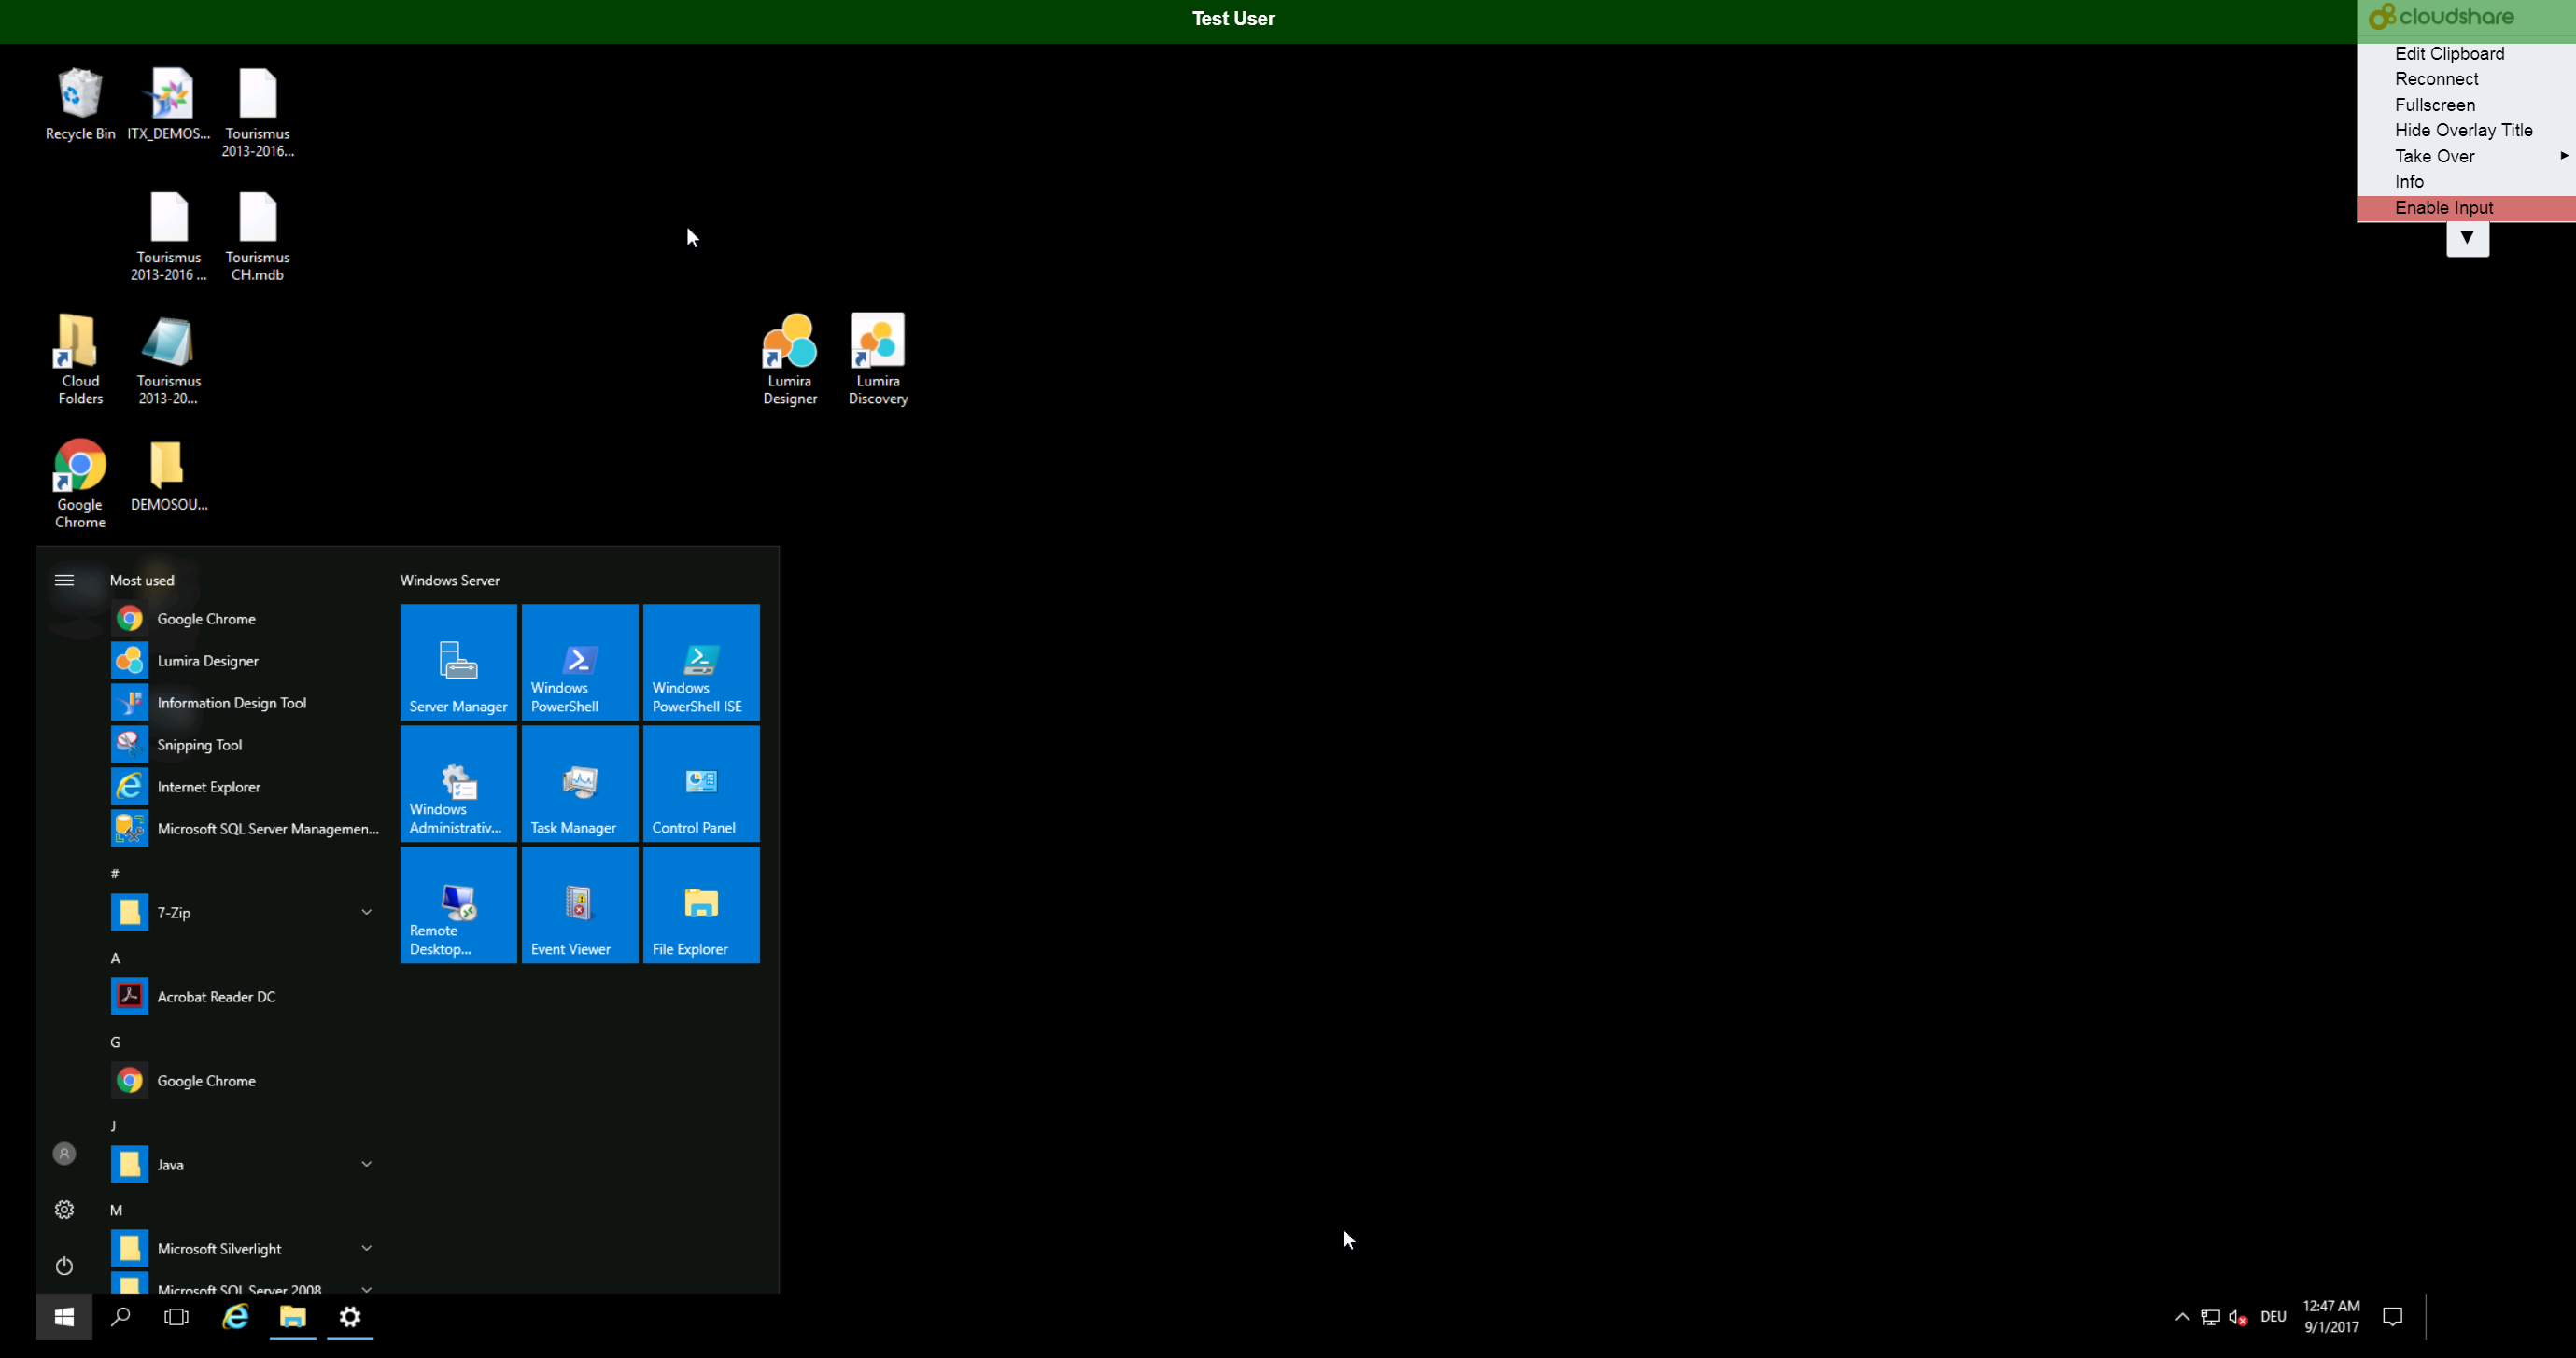
Now the HTML5 based remote desktop session is opened directly within the browser – please note: No addons are needed for this! This helps us to keep costs for additional configurations on our training laptops to an absolute minimum.
As a student I can ask for help, chat with the instructor or with the whole class.

As an instructor I can switch to the Instructor Console where I see a thumbnail of every student’s screen:

If a student asks for help, I can quickly “zoom in” and see the student’s screen live:

If needed, the instructor can take over control of a student’s screen:
Conclusion
In this blog post I’ve showed how you can use Cloudshare’s Training Module to setup and run a virtual training lab class. I have to admit that I’m pretty amazed how easy it was to use this feature. So far everybody is happy with it:
- Our IT administrators because it reduces laptop-side configurations.
- Me as an instructor: I can easily invite students and run a class without technical knowledge around virtualization, VM management etc.
- Our students: So far they were very happy with the solution. It is easy to use and the performance is as if you work with your local PC.


